1
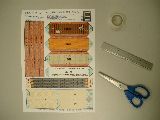
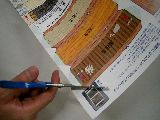
Prepare! PaperBururu, a pair of scissors and a double side tape!
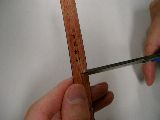
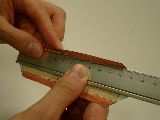
Ruler helps you to fold it well and easily !
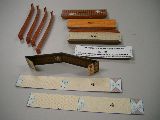
Did you feld all of them in the left picture?
Now, it's time to set up to work!
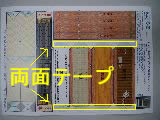
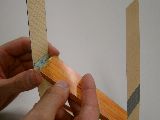
Put the double side tape on!
The easiest way is to stick it straight along the outside of the square in the left picture,
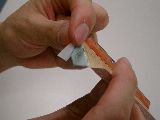
Take the paper of the double side tape off!
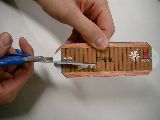
Cut the blue lines!
Cut all of the blue straight lines.
Put the same numbers together!
Stick the same number together to suit the shape. The number is from 1 to 8.
Cut into attic?
Keep in mind this process! Everyone tends to forget.
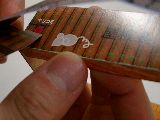
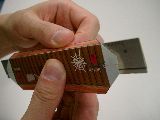
Insert the roof to the きりこみ!
Insert the appropriate section of the roof in direction of the arrow.
Cut into brace, too?
You're done all the work with a pair of scissors!
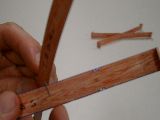
Set the two braces to look like a letter X!
Be careful, it is hard to insert.
Cut the green lines!
The green lines are mountain fold. Use a ruler to square it up. It is easy to fold the paper if you scratch the line with a cutter.
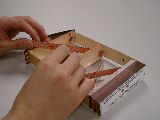
Put the braces into the paper Bururu!
lay the paper Bururu down on a table、set the crosses braces on the first floor and the second floor.
Fold the red lines!
The red lines are valley fold. It is good for kids that you scratch the line wit a cutter before they make it.
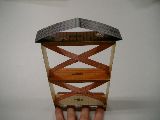
You're done!
It's completed!!
Congratulations!!!